

To get started with everything, you will want to go to https://wallet.near.org/. If you have already created an account and you don’t want to connect a new Account to that existing one, then you can open up an incognito browser. If it’s your first time it will bring you to this page below:
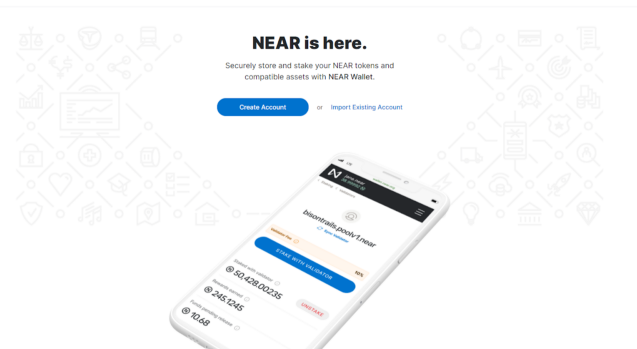
Assuming you are planning on creating an account, you will want to select the blue box on the left — Create Account. The screen below is what will pop up:

This is where you have the opportunity to create a NEAR Account. You pick your account name and then click Create Account
You cannot change your account name once you have claimed (although you can buy and sell it).
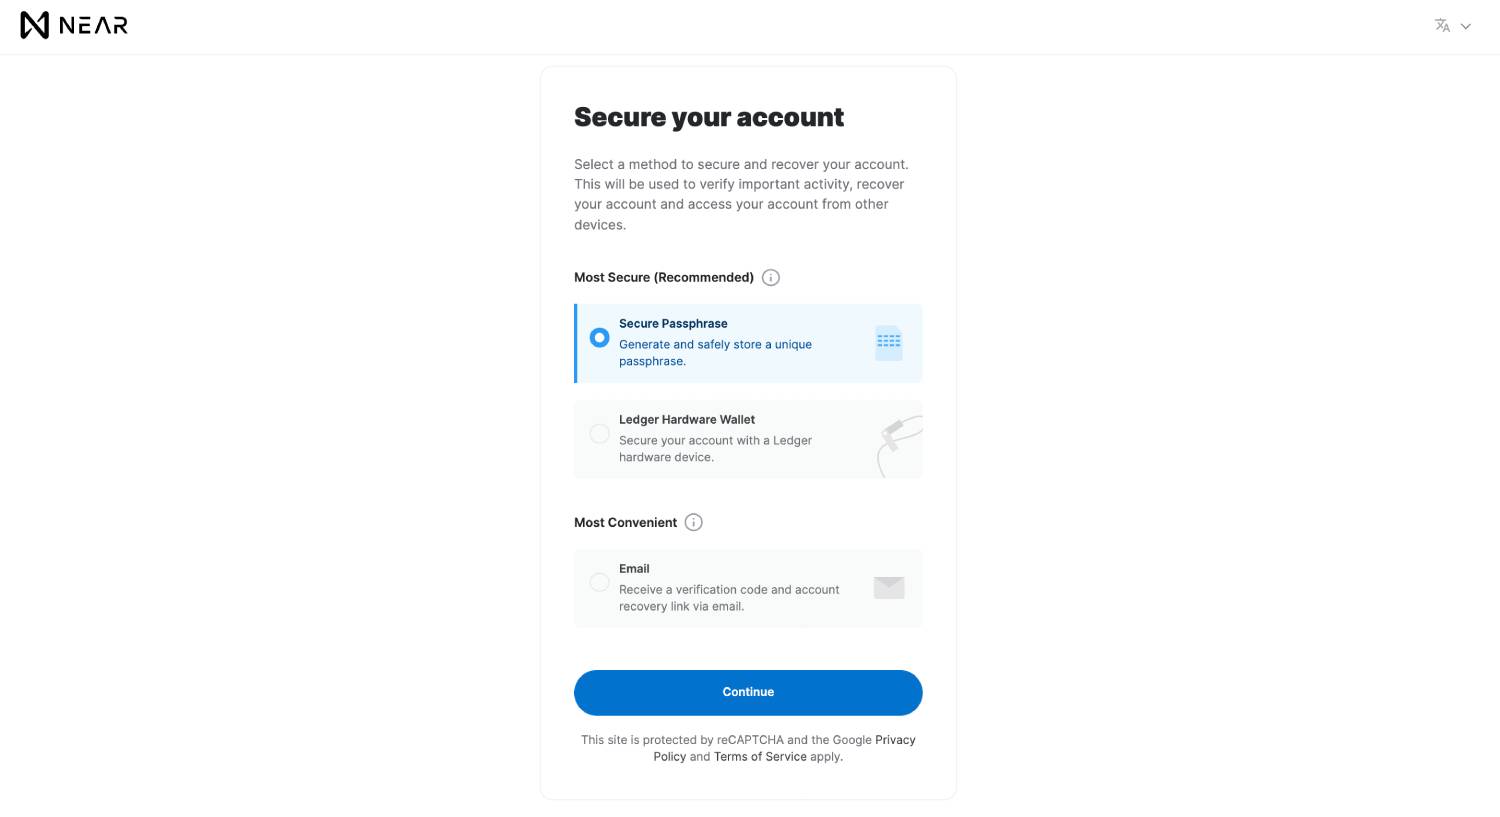
In the next step, you need to choose your security method. Note: This can be changed after the account is created, but you should still select the one that is going to be most secure (i.e. use a Recovery Phrase or a Ledger Nano S or X).
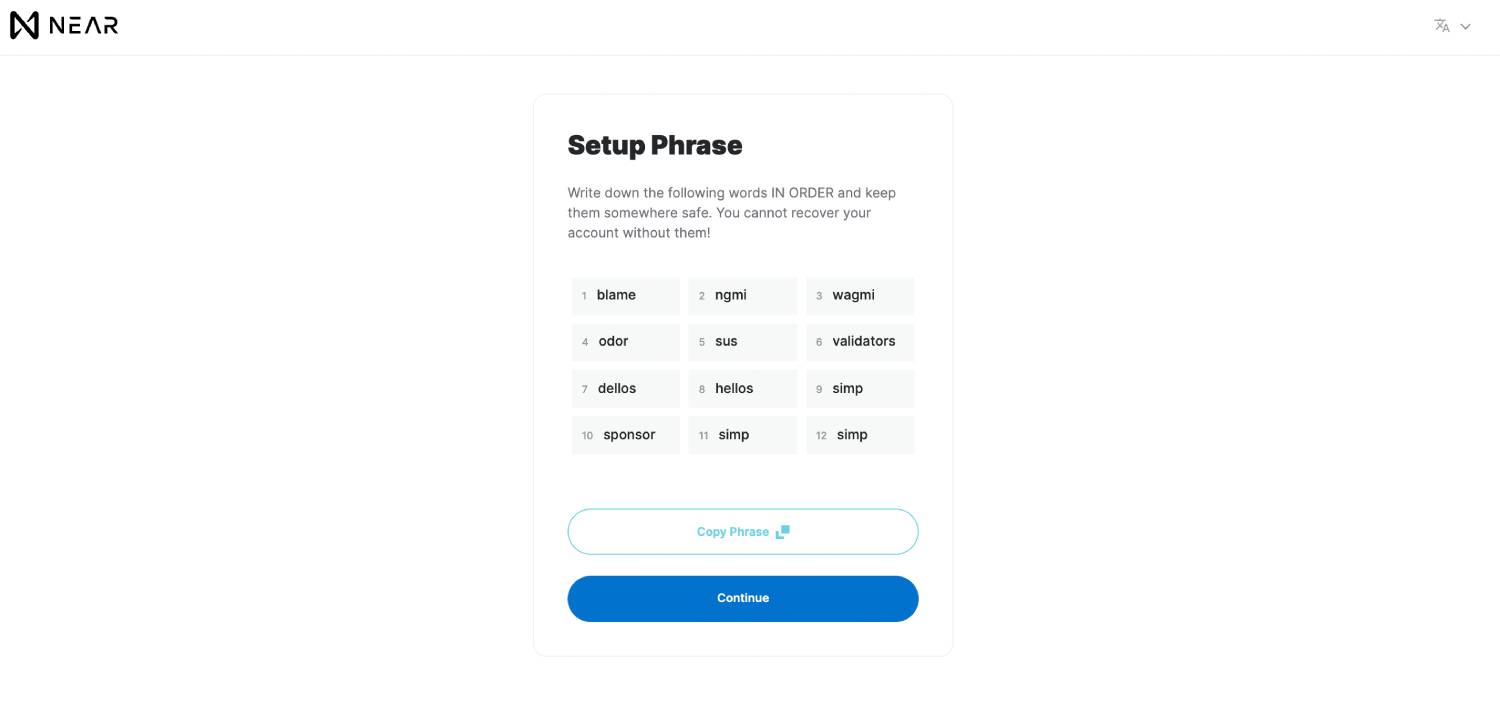
After you click Continue you are shown the passphrase. It should be 12 words long.
Store the mnemonic (passphrase) very securely. Anyone with the phrase can access your account and transact!
To make sure you have got the seed phrase correctly recorded, you will be prompted to input one of the words at random.
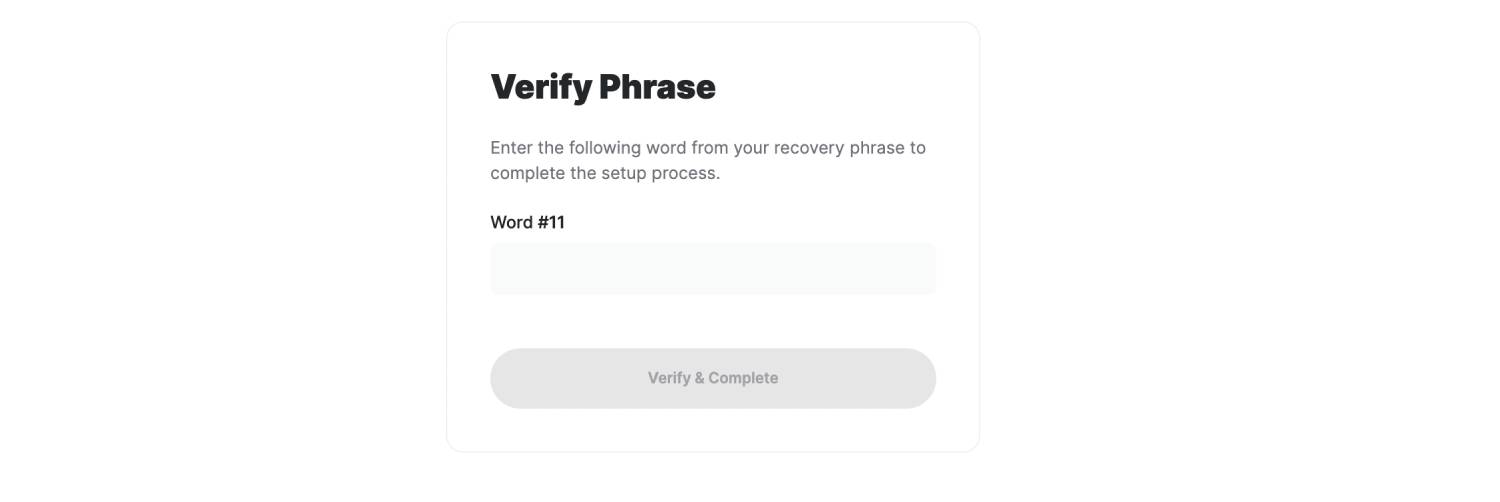
After you do that, you will be brought to the Account Verify screen. You will need to either fund it or use an email/sms to verify your account.
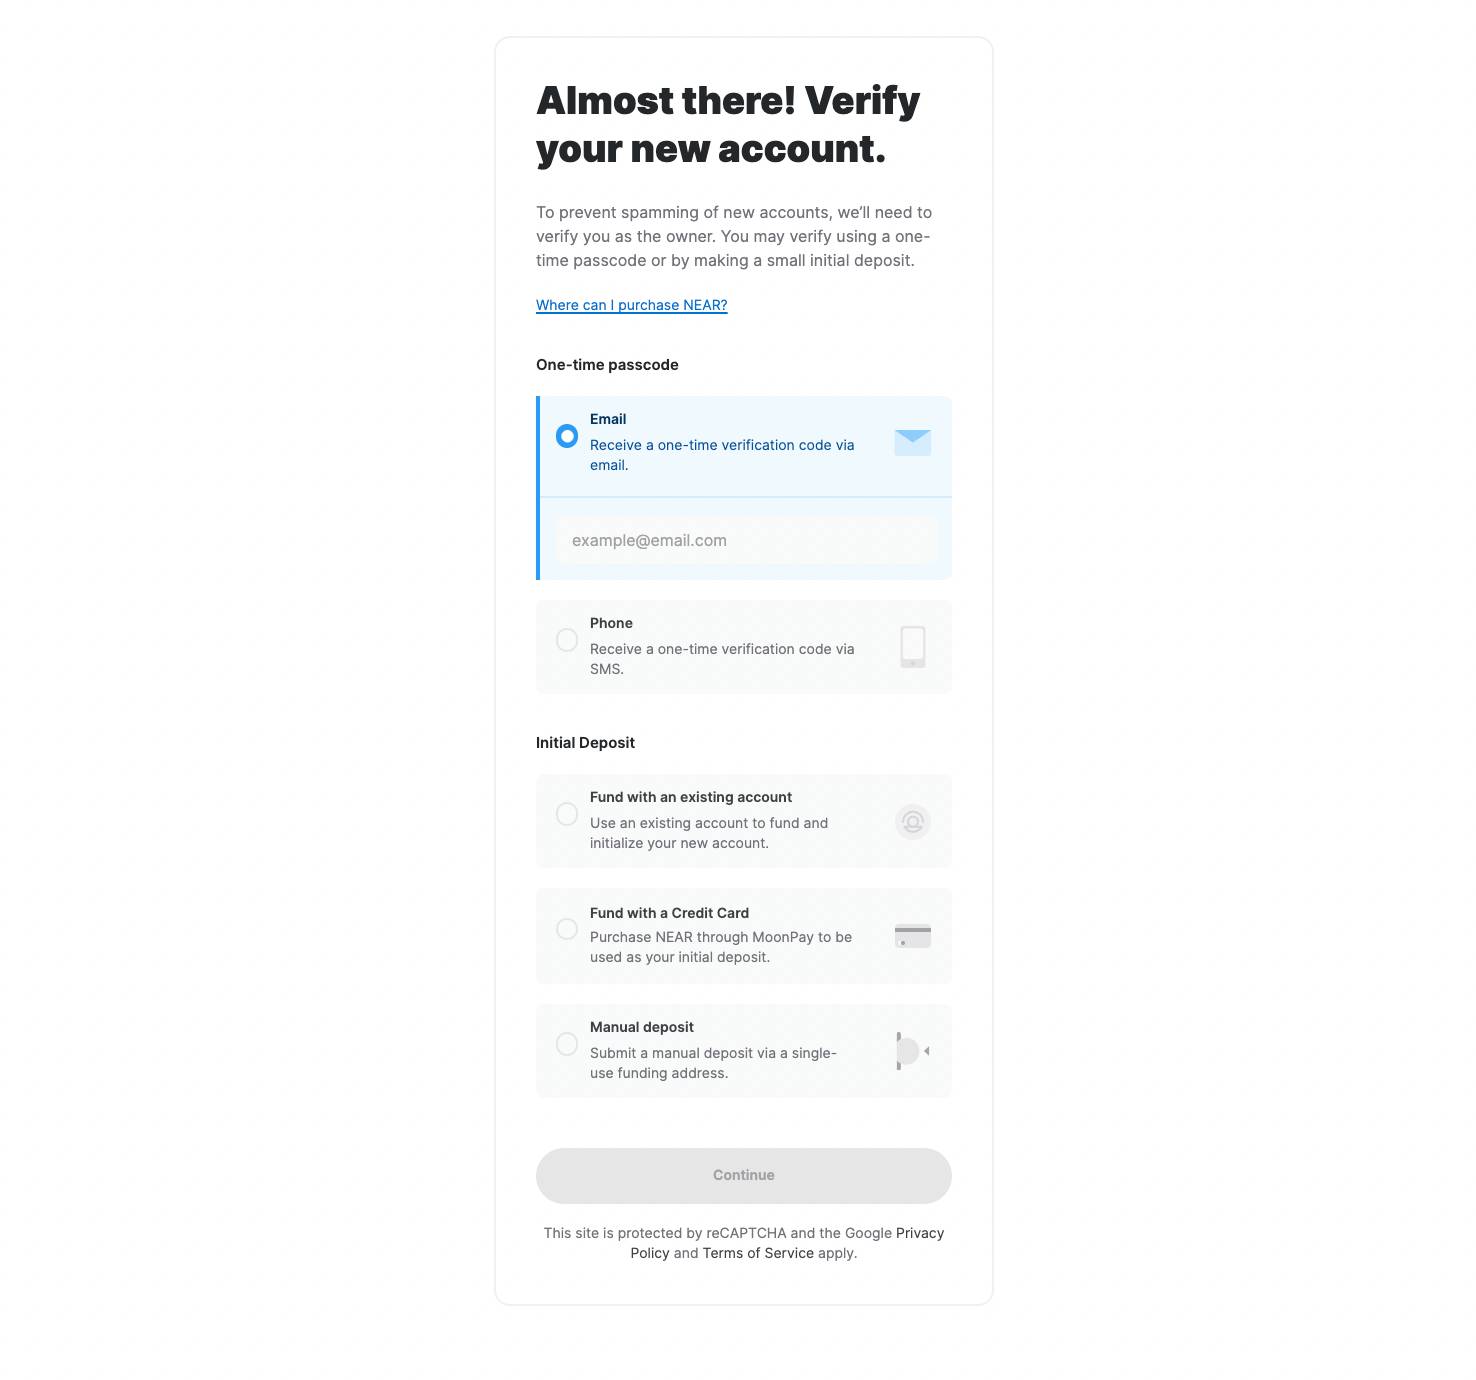
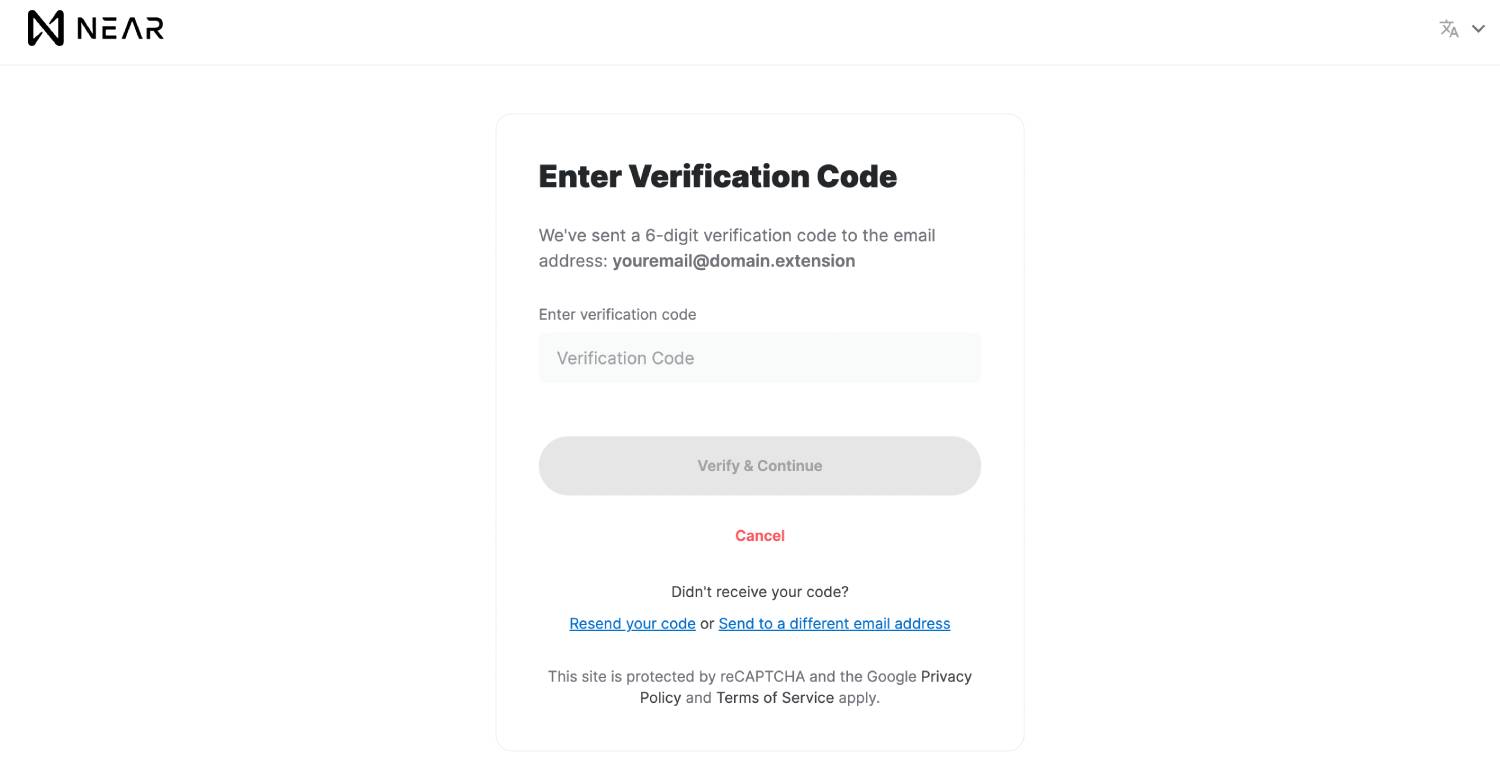
If you use email you will be taken to the next screen to enter the 6-digit verification code.
Here is where things can get a little tricky. NEAR is built around an Account model, where users have human-readable ID’s. In order to get that ID though, you need to fund your account with 0.1 NEAR.
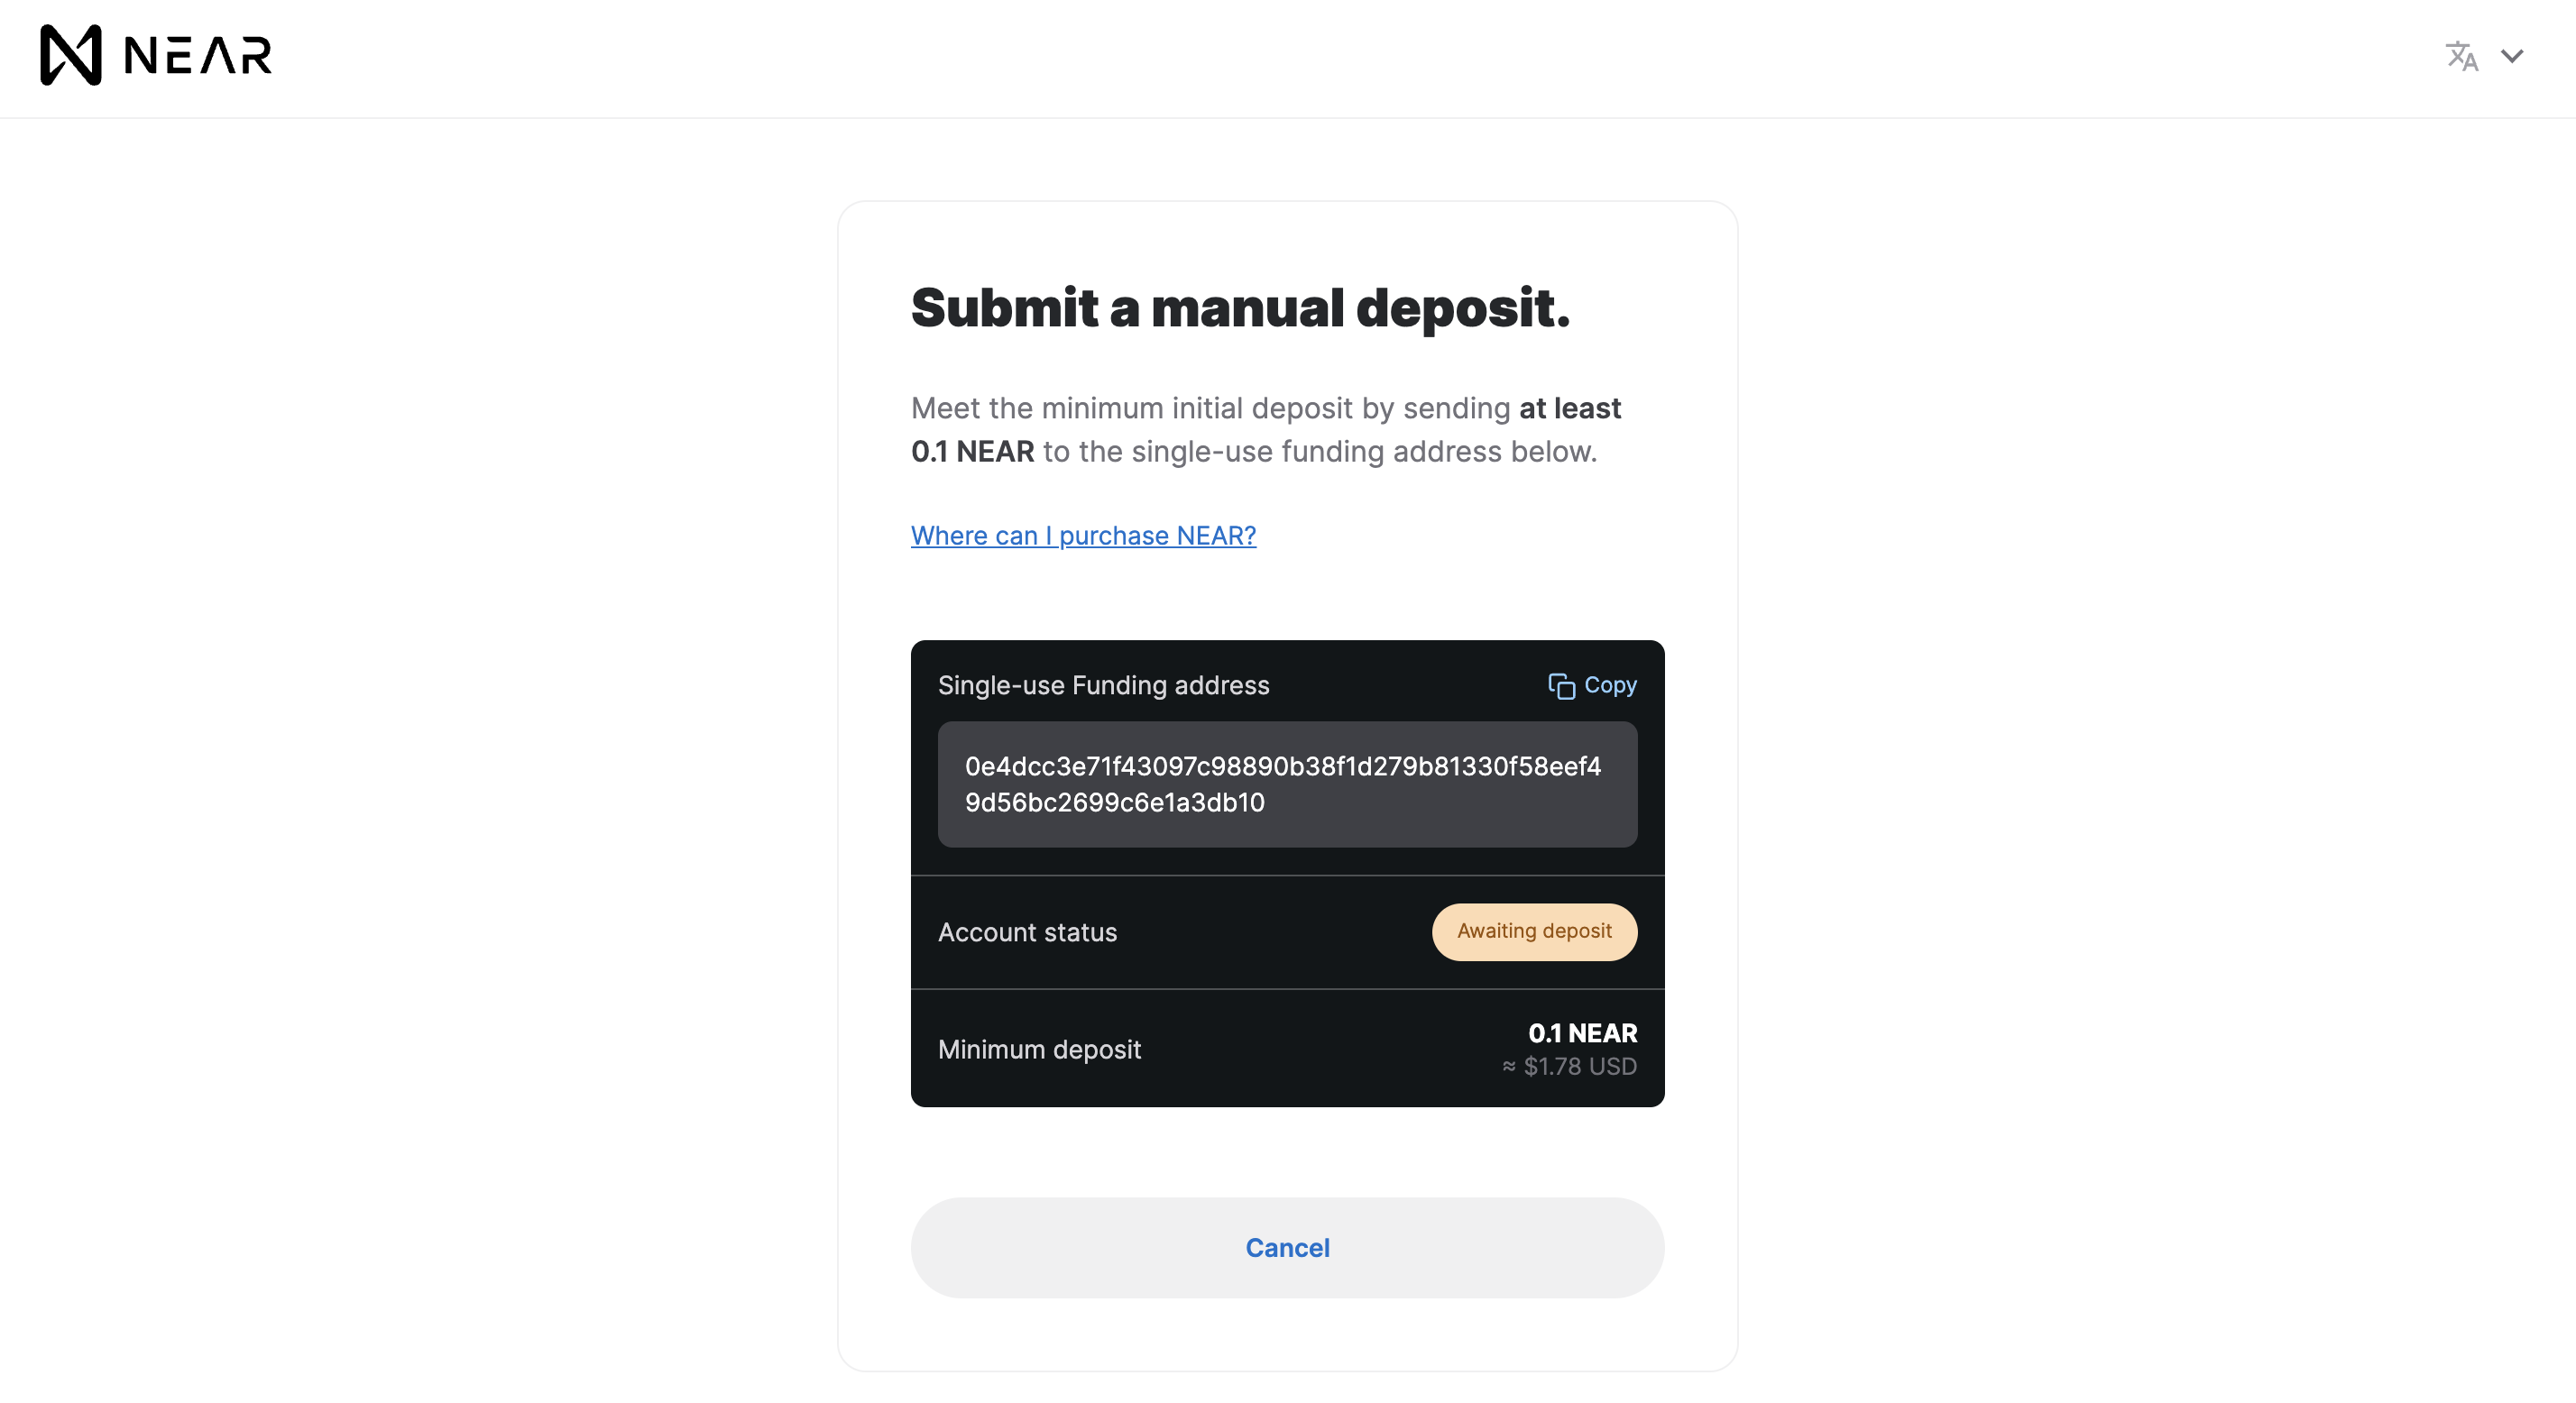
So here is how you get the ID you selected earlier on in the process:
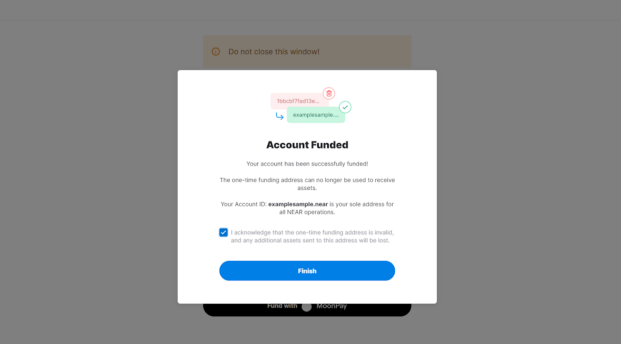
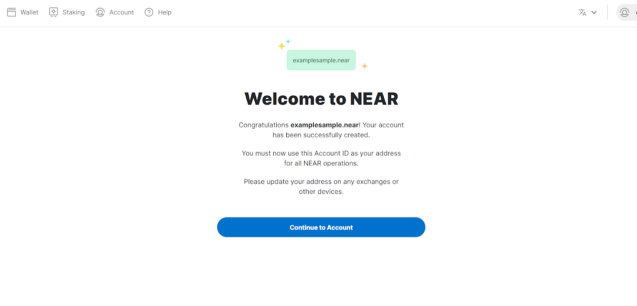
Once you receive the near you will see an Account Funded screen. Congratulations your account is funded and that account ID is yours forever (or until you decide to sell it)!
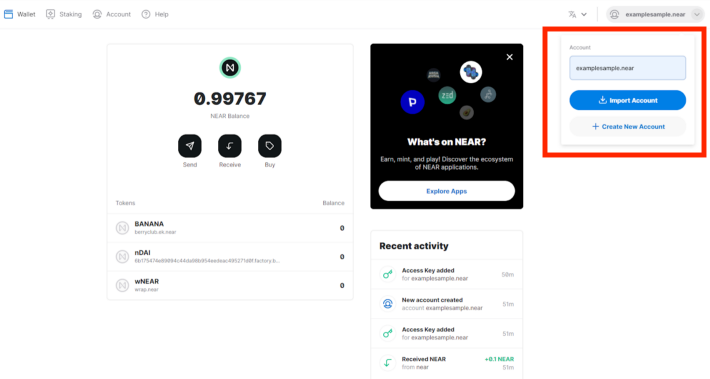
Now that your account is funded you click Continue to Account to get onto the wallet home interface.
Once you are on the home interface there are different options available on the top left of the bar. On the right column, you can see your different security permissions. You can enable Email and Phone access on top of your seed phrase for quicker access.
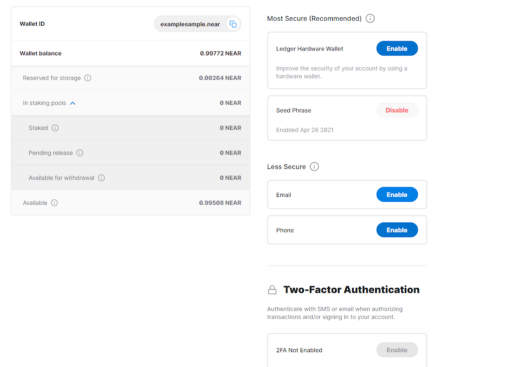
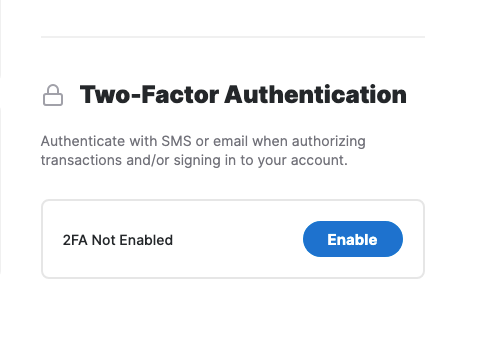
You can also Enable 2 Factor Authentication from your email. In general, 2FA is highly recommended, as it means that even if your account is compromised, no action can be taken without first confirming that action with a special code sent to your email.
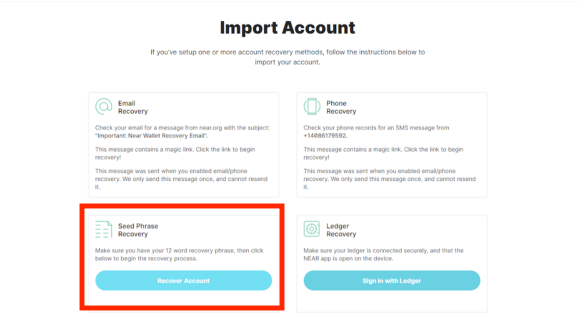
You might want to connect other existing NEAR Accounts you have set up to the wallet interface. This will allow you to navigate quickly between accounts. On the top right corner, you can either click import or create new account
If you want to Import an existing account you just have to click the recover seed phrase box and input that account’s seed phrase.
You are now set up with your NEAR Account and ready to stake.
From the moment your account has been funded the sole method of receiving and sending NEAR and any token from the wallet is via your newly created Account ID. DO NOT ever use the one-time funding address again.
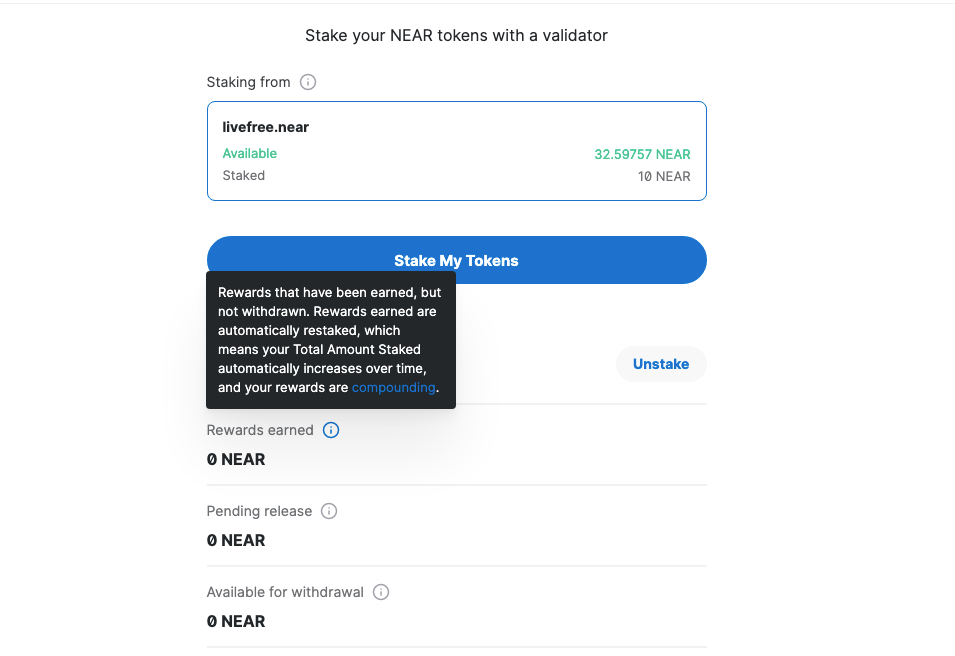
This next part will go into the details on how to stake and unstake from the NEAR wallet. Go to the Staking tab on the top left of the screen. Click on it and you will get a screen as displayed below.

This is the first step in staking. You will want to click the blue button Stake My Tokens. Once you do that, you will be prompted to Select a Validator from the list of NEAR Validators.
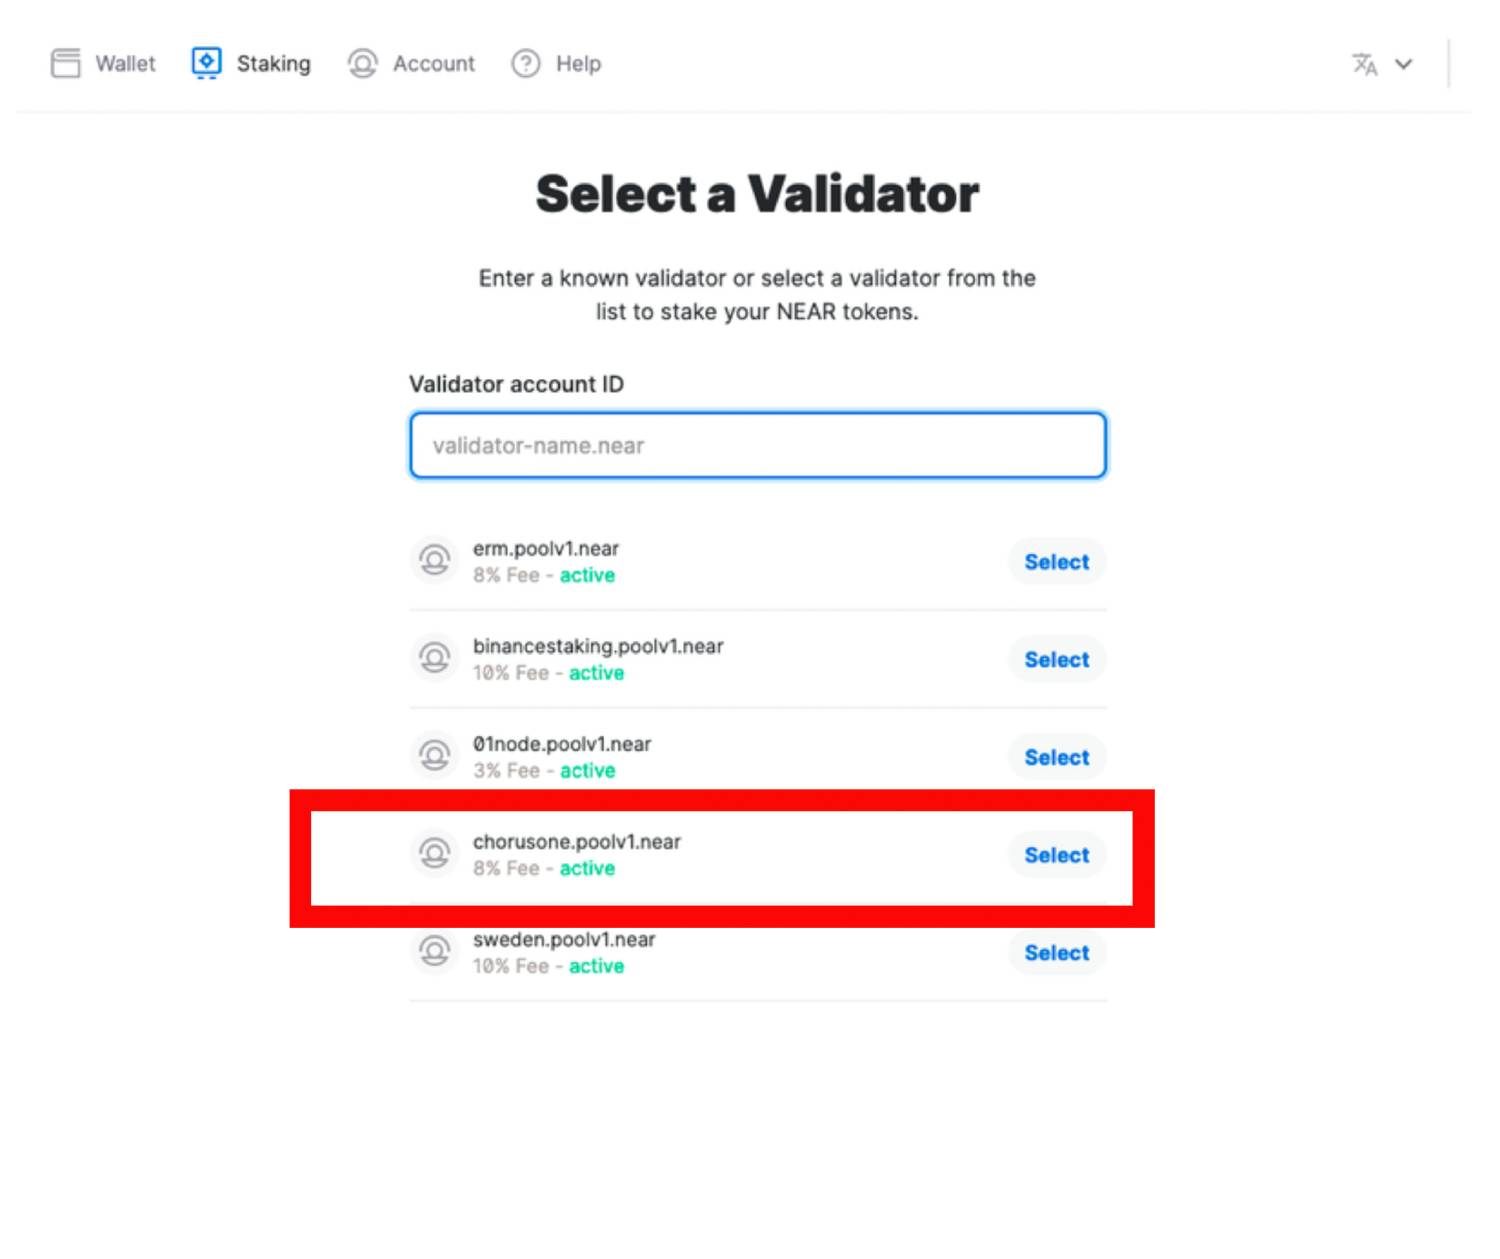
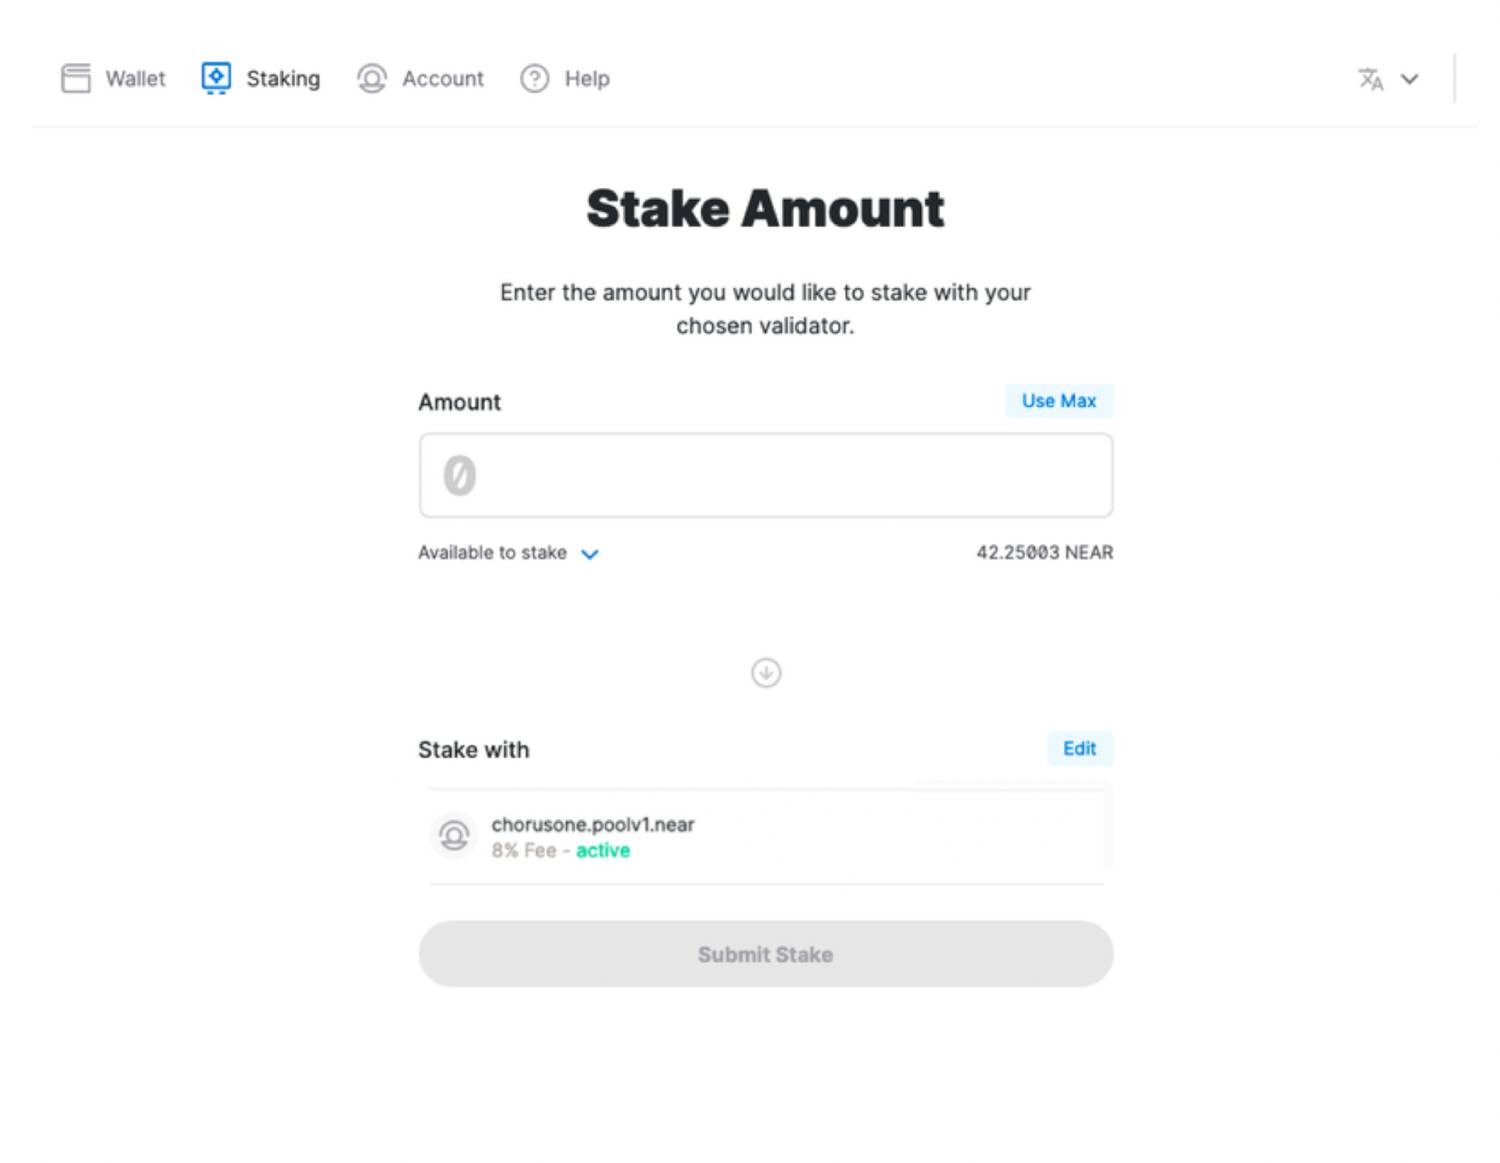
Select chorusone.poolv1.near and click Stak with Validator. Then you are asked to input the amount that you would like to stake. If you want to stake everything in your wallet click Use Max’ Note as explained in the photo below, there is always 0.35 NEAR reserved for Fees.
Select the amount you would like to Stake:
Once you have entered an amount, you must then confirm your stake as depicted in the picture below. All you have to do is click ‘Confirm’.

You will see the following screen upon successful staking!
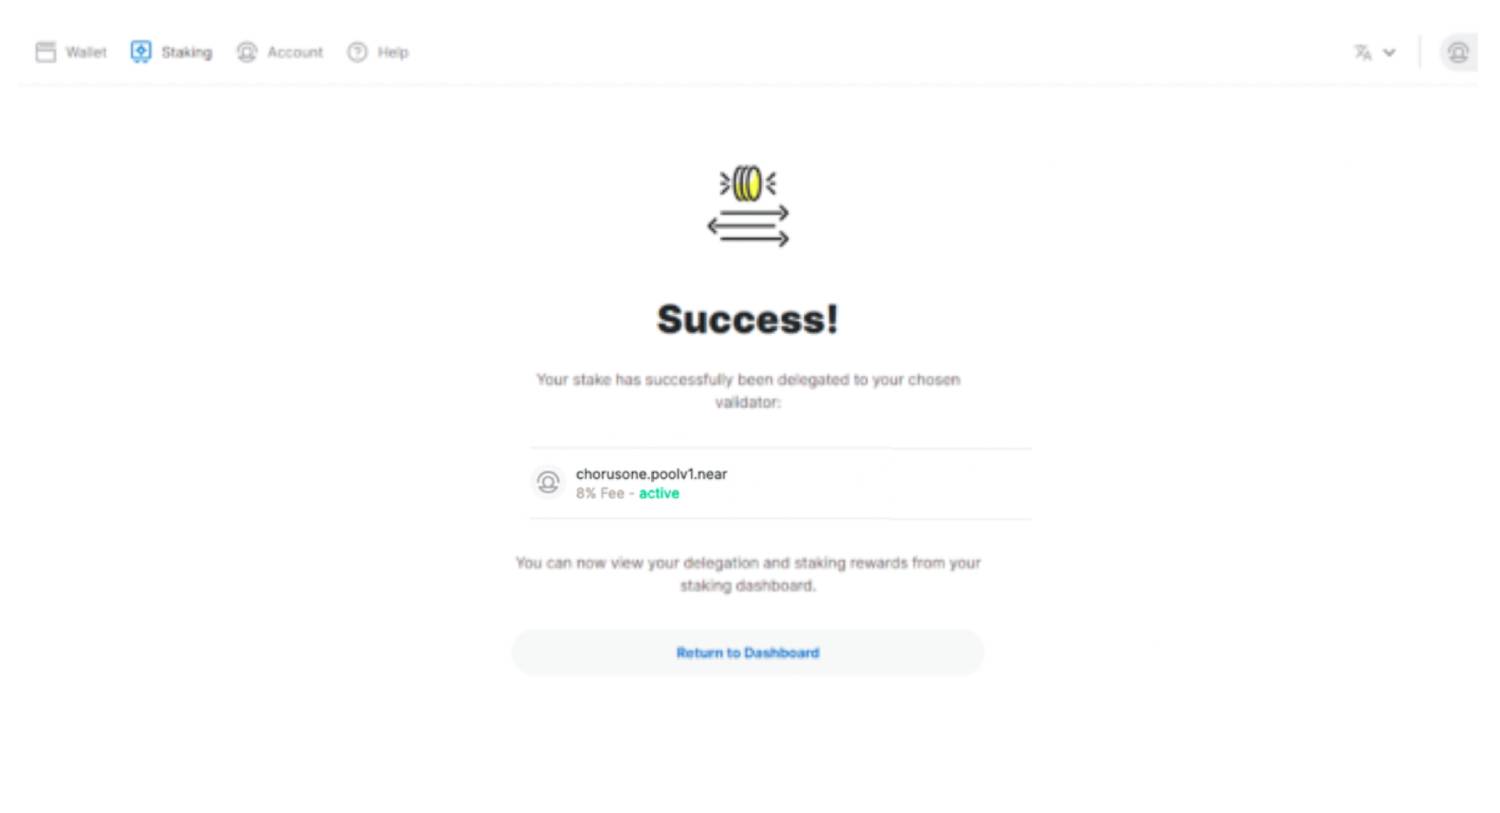
Congratulations you are now staking on NEAR Protocol! You can check in on updates and rewards from the Staking tab of the wallet.
Your account will start earning rewards upon staking and after some time you will be able to withdraw them. Your earned rewards are automatically restaked. If you want to unstake you have to select the ‘Unstake’ on the right hand side.
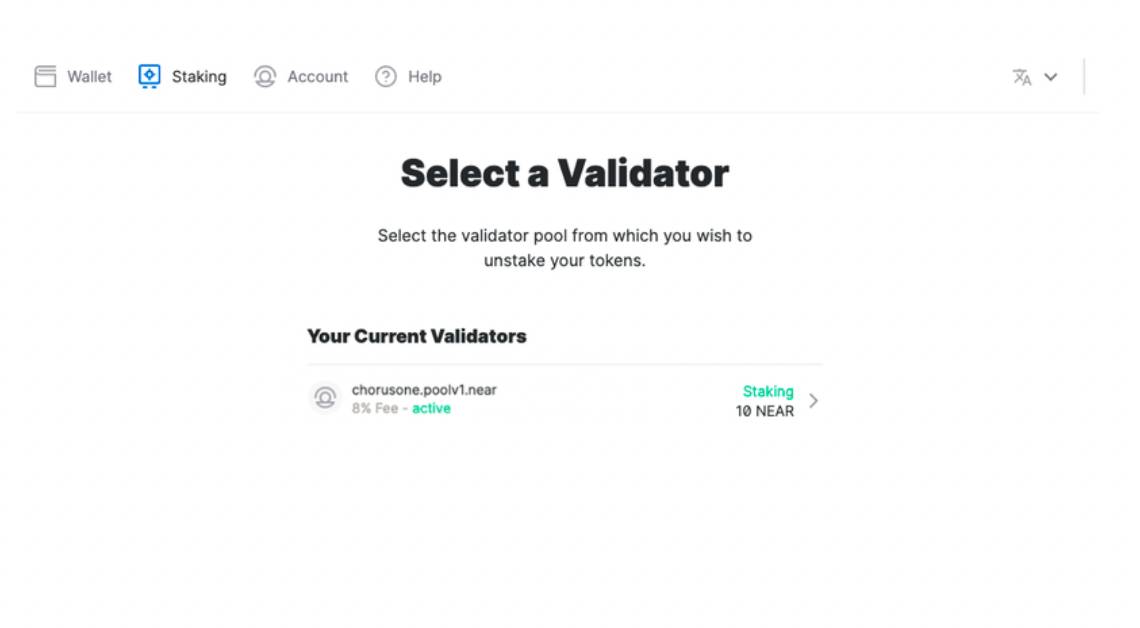
This will then prompt you to select which validator you would like to unstake from. Unless you are staking through multiple different validators there should only be one option.
The following screen will then prompt you to input the amount of NEAR you wish to unstake. You can then choose to either unstake just your earned rewards or more if you like.
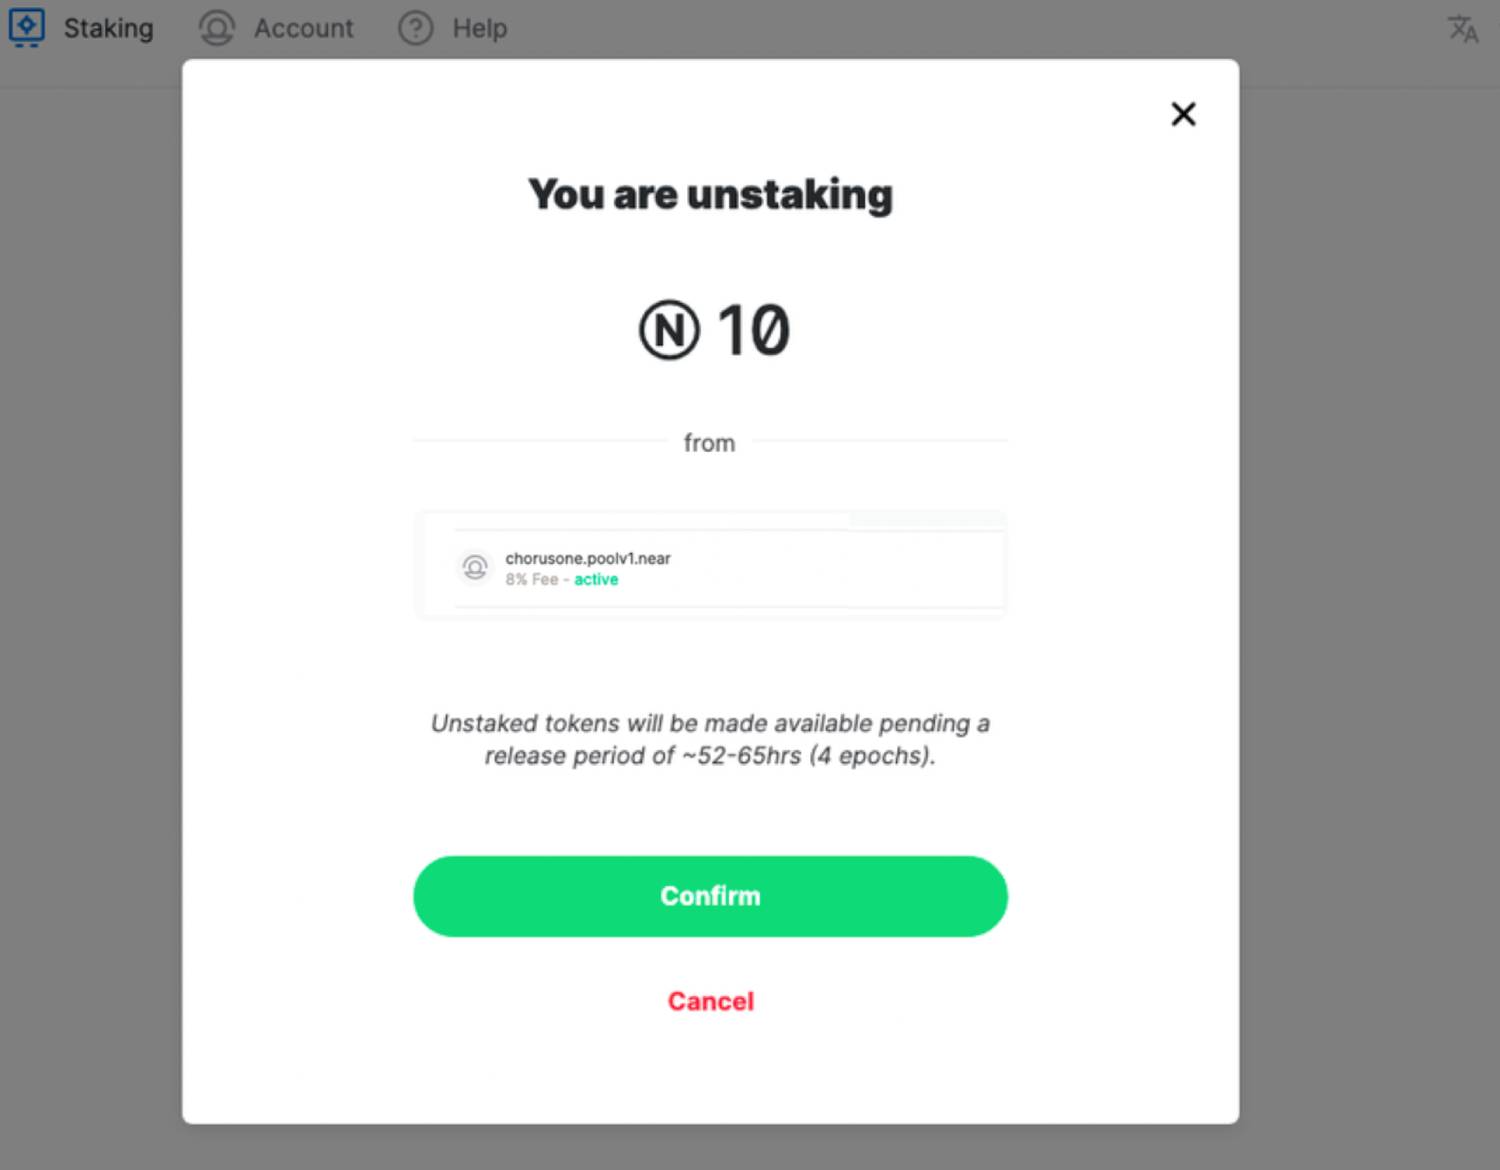
Finally, confirm that you are ready to unstake that amount of NEAR that you entered.
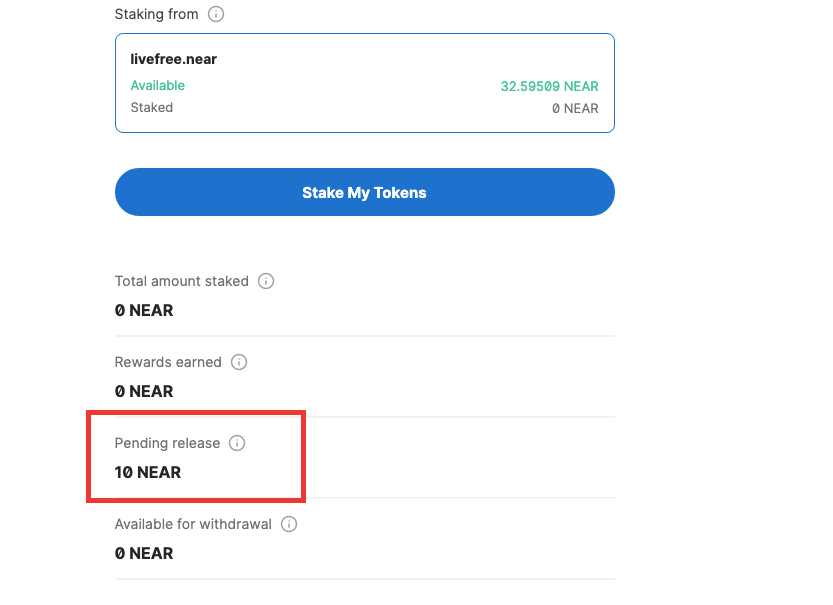
The tokens become available on the 4th epoch after release which is usually between 52–65 hours in time.
After hitting confirm you will then get the Success message. Shortly after, the staking tab of your wallet, will reflect your tokens pending release and eventually they will become available for you to withdraw. Once they are available to withdraw you can simply select Withdraw to have them deposited back into your wallet.
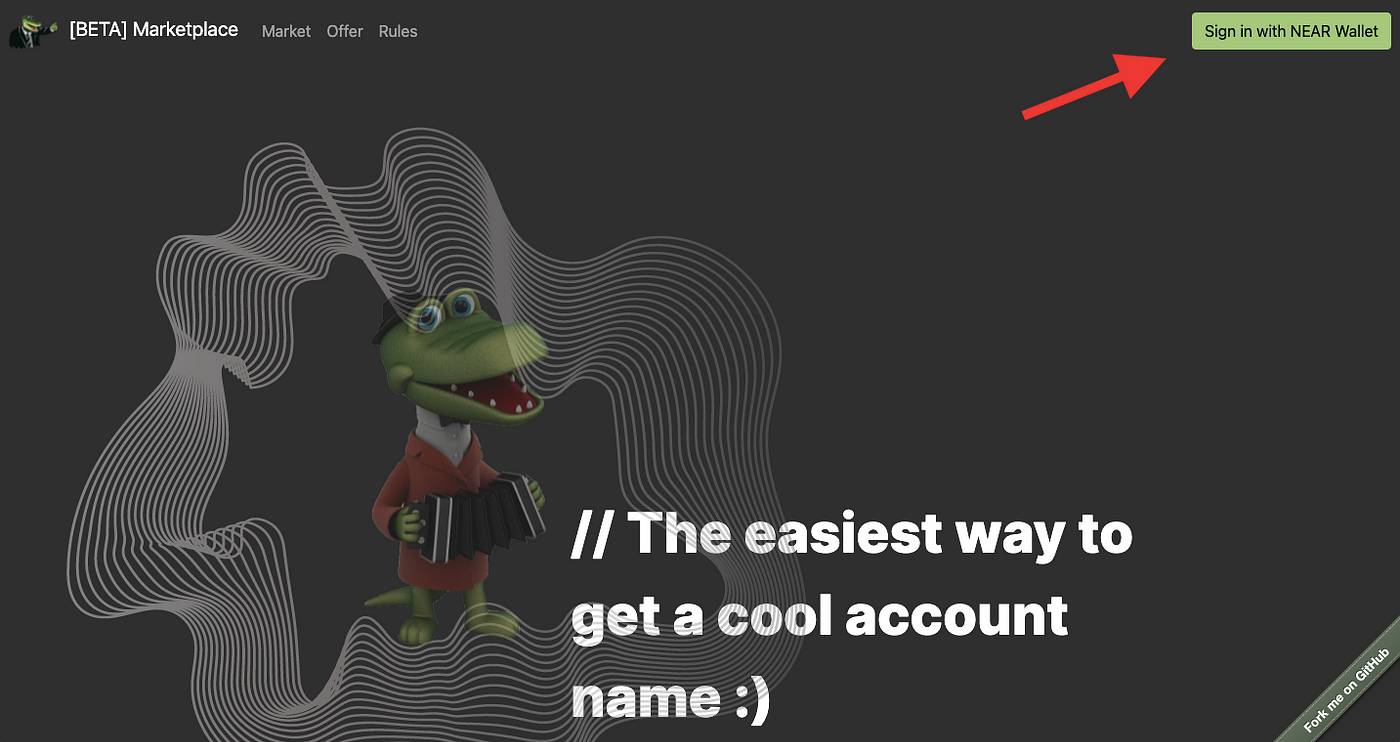
NEAR Wallet can also be used to connect to existing dapps on NEAR. Just head over to a NEAR Dapp. You can check out the different dApps at Awesome NEAR. Look for the ‘Sign in with NEAR Wallet Option’. Give that a click.
It will then take you to this screen in your wallet. Note that if you have multiple accounts connected through the wallet you can decide which account you would like to allow the Dapp to access.
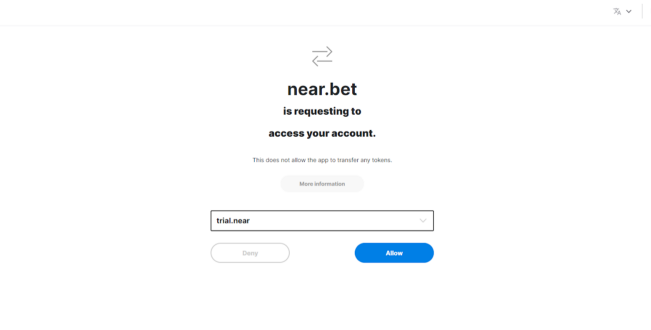
Once you click Allow you are good to go, and your Account will be automatically connected to the dapp going forward
Make sure to review the Dapps before allowing them access to your account. Malicious apps may try to steal your funds!


